A Buying Guide to Garden Furniture
28 March 2025
Read More
14 November 2024
14 November 2024
A driveaway kit contains the important pieces you need to attach your driveaway awning to your camper. These kits allow you to simply connect your awning tunnel to the rail system on your vehicle. In this article, we will explain the different types of driveaway awning kits, the connection options available, and whether or not you need one for your awning.
A driveaway awning is a tent-like structure that fixes to the side of your van, which you can detach and drive away from without needing to collapse the structure. The structure can remain behind at the campsite, ready to be reattached when you return.
The difference between this and a fixed awning is the ability to drive away without taking it down. With fixed awnings, the side of your van essentially acts as the tent’s fourth wall. If you detach and drive away, you’ll be leaving the interior open to the elements. Driveaways are far more efficient if you know you’ll be returning to the site.
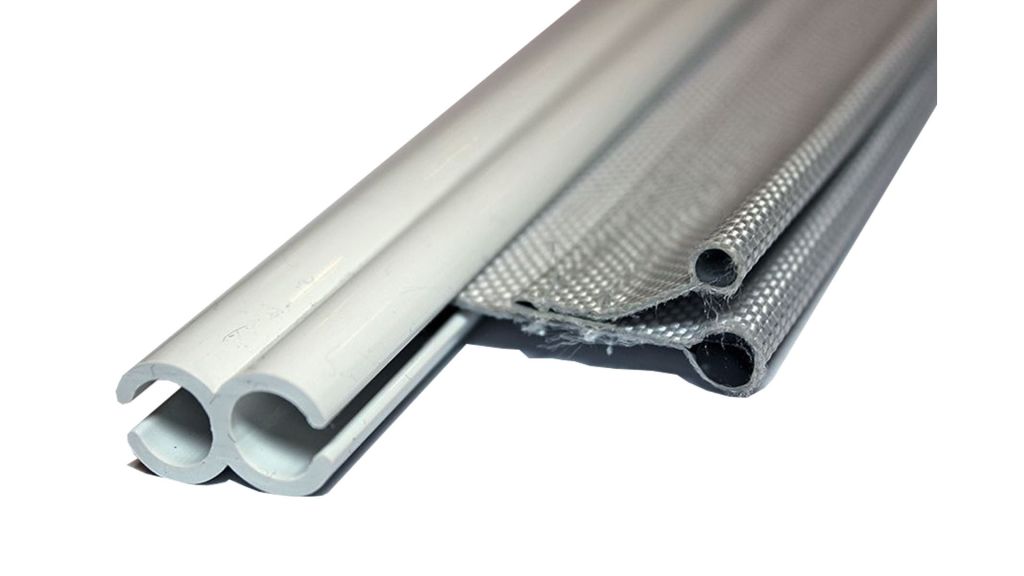
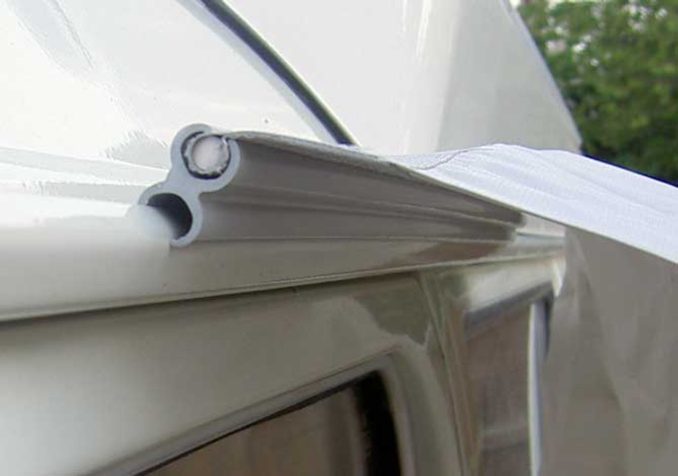
There are many types of driveaway kits, but they all typically include a figure of 8 plastic strip. This strip connects to the beading on your awning, while the other side of the figure of 8 strip connects to the remaining elements of the kit, which differ between types.
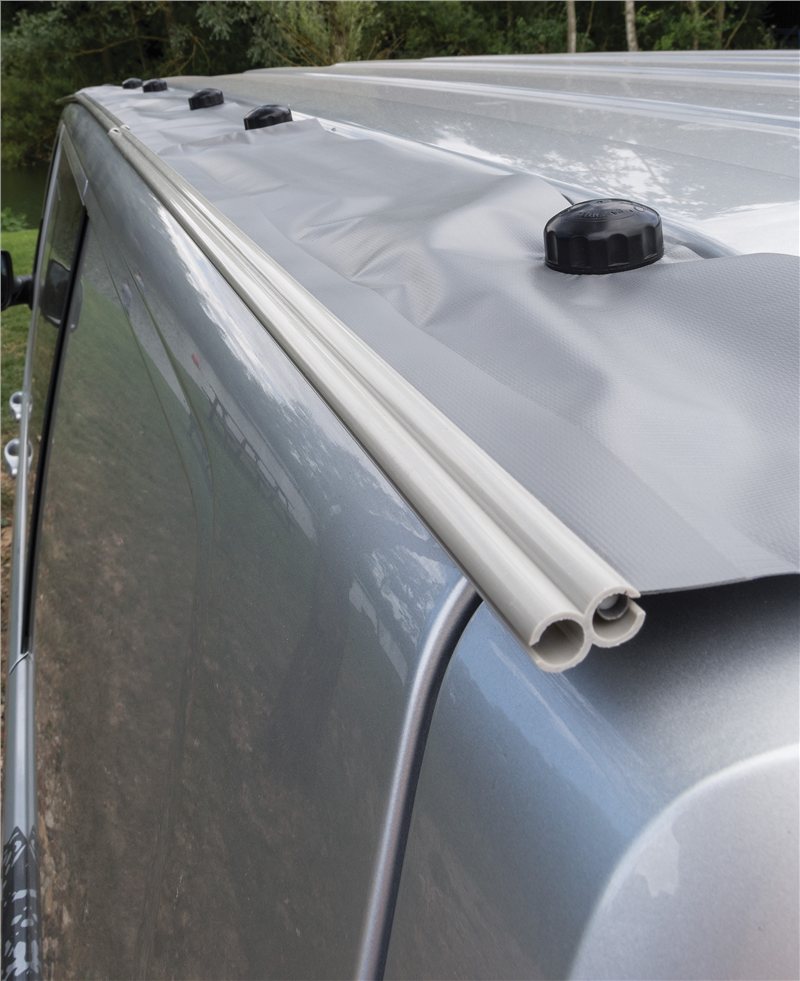
Standard awning rails are usually the strongest and most watertight connection method for driveaway awnings and kits. If your van doesn’t have a rail or windout awning, then take a look at the options below the first kit.
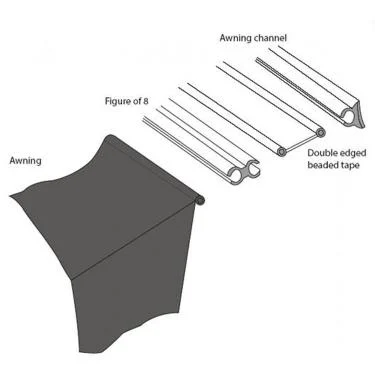
The most popular driveaway kits are the 4mm/6mm or 6mm/6mm. Nowadays, suppliers combine them to offer a dual kit with both lengths possible, so you don’t have to worry about which size rail you may have. These kits include a figure of 8 strip in separate sections and double-edged beaded tape, also known as a Kador or Keder strip, depending on the brand.
This is one of our go-to options, but only if the roof of the vehicle is metal and there is no rail option. The magnetic strip simply lays flat on top of the vehicle, which can placed further up than a rail, making it a quick and easy process and creating a snug fit for your awning.
We recommend using guy ropes through the tunnel straps on the magnetic strip and pegging them over the vehicle for extra security.

This is fairly similar to the magnetic kit in terms of simple and easy attachment, but the vehicle doesn’t have to be metal with this kit type. It uses little suction devices called limpets that you attach to the vehicle with spaces between to create a fixture. Next, you hook the awning material over the limpets via pre-cut holes.
From experience, the vehicle needs to be clean and dry to attach this kit.
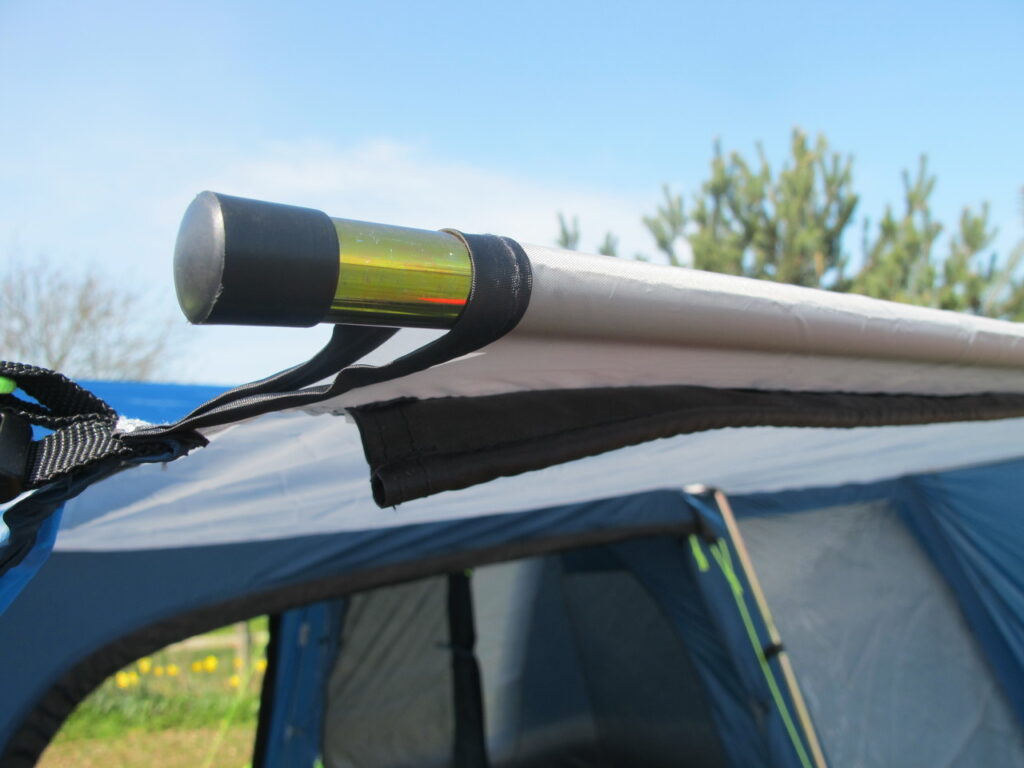
This is more of an old-school method of awning attachment, which you don’t see on new vehicles these days. In its prime, it was most popular with the classic VW campers and other campers with a slim gutter along the vehicle’s top.
The pole simply goes into the awning sleeve tunnel, which sits in the van’s gutter. You clamp the pole to the gutter to keep it in place.
These are the types of rails you’ll typically find on vehicles that you can attach your driveaway awning kit to.
A normal awning rail or a Reimo rail on your vehicle will have a 6mm groove for the 6mm/6mm connection kit. All awnings will come with a 6mm beading built on so you can put the awning straight into the rail, but this method can prevent you from driving away.
If you have a Fiamma, Omnistore, Thule or Dometic windout awning, they have a rail built in. They are usually designed to fit a 4mm groove, so we suggest the 4mm/6mm connection kit. Not all awnings come with 4mm beading on the tunnel, so we would really recommend a driveaway kit if you have a windout cassette awning.
Roof bars can work as a rail, as some brands, such as Vango, usually have a Velcro strap on the tunnel to attach to the bars. This isn’t the most secure, watertight way of connecting your awning, but it will do the job just fine.
Fairly uncommon but worth a mention, J-rails, or gutters, are usually found on classic VW campers. You need to use a pole and clamp set to clamp onto the lip of the gutter on the vehicle. Sometimes, when the gutter is slightly smaller, a figure of 8 strip can clip onto the edge of the J-rail and be pulled down to keep it tight.
If you don’t have any rails, roof bars or gutters on your campervan, you still have the simple option of throwing the awning’s existing tunnel straps over the top of the vehicle. Just peg them down on the other side of the vehicle to connect the awning.
Here’s our tip for getting the straps over: tie each strap to a tennis ball or split a tennis ball and stuff the end of the strap inside, then throw the ball over the top of the vehicle.
As experts in all things camping and awnings, we’re experienced in being able to help you choose the right kit for your vehicle. To summarise our guide, take a look at our recommended kit types for your rail type:
Check out our useful videos on driveway kits and how to connect a driveway awning at the end of this post, which we filmed as a way to share our knowledge with you for free. To browse our selections of driveaway kits and accessories, visit our driveaway kits and rails range.